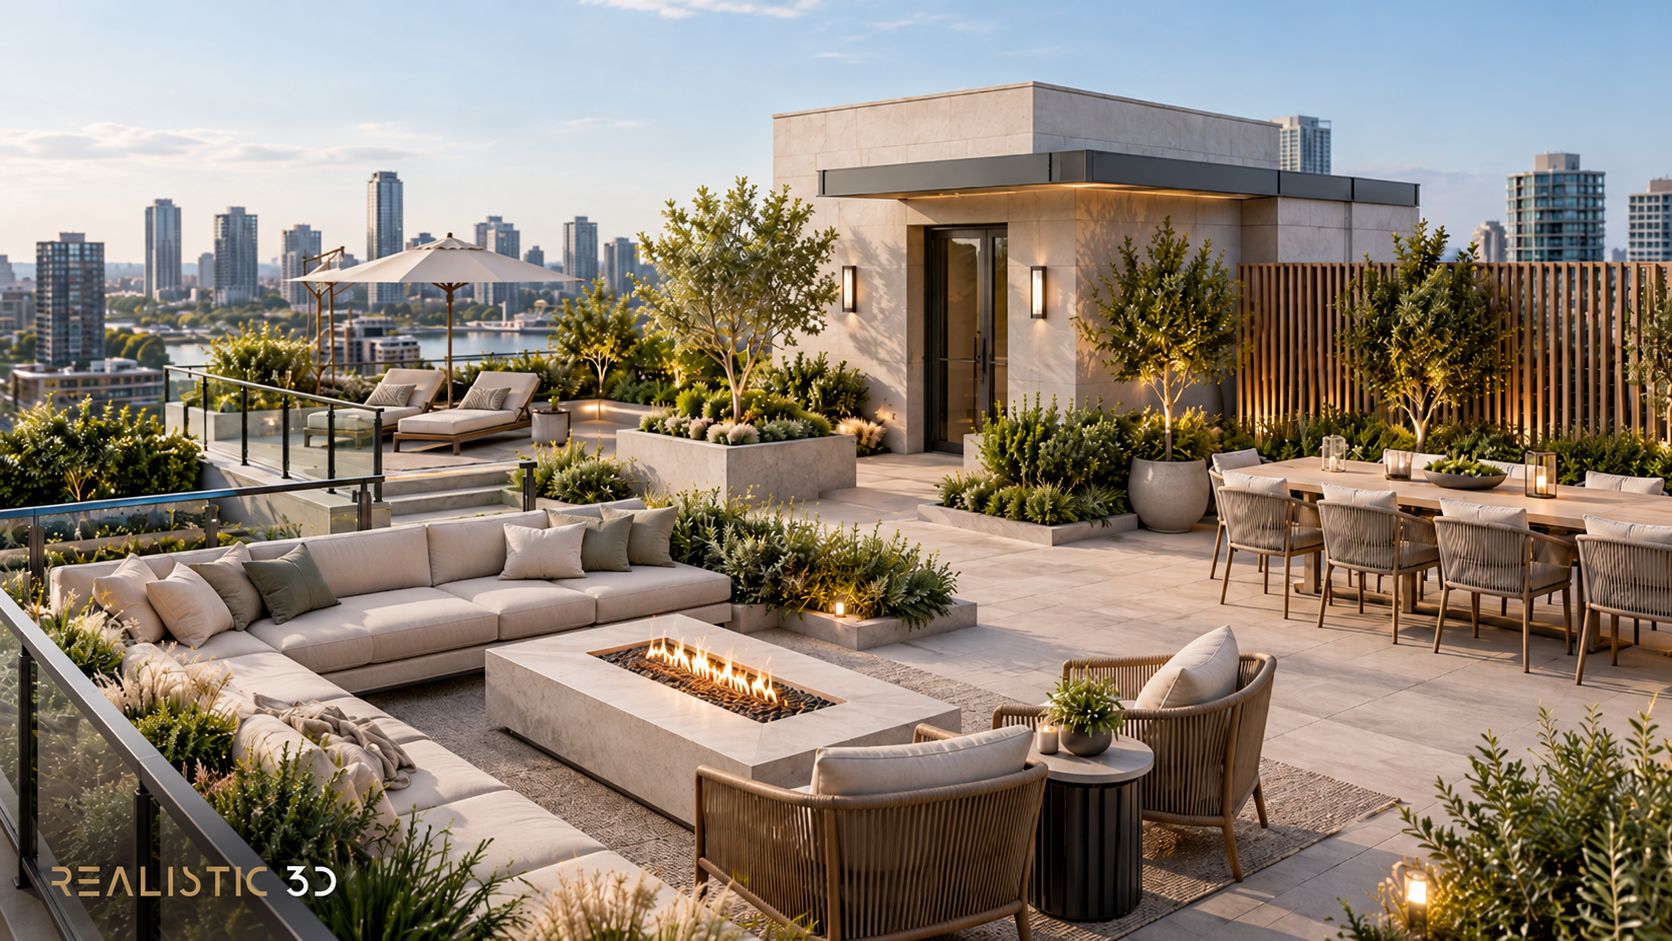
A rooftop terrace can look like one big entertaining space on a marketing image. The plan may tell a different story. There is a place to sit, a route to the lift, planting that needs care, a fire stair door and equipment that cannot be hidden. If the render turns all of that into an uninterrupted sea of lounge chairs, it has made the roof easier to admire and harder to understand.
Rooftop amenity rendering services help a team show how a shared roof may work. Mark places to meet, paths through the space and routes for care on the approved roof plan. Add planting, screens, roof edges, fixed equipment and views. Then choose images that show how each part fits. A render can show the design. It cannot prove that the roof is safe, open to all, approved or easy to care for.
That is why the first useful decision is not which sunset looks best. It is which parts of the roof a resident needs to understand, and what the design team has actually confirmed.
What should rooftop amenity rendering services show?
Rooftop amenity rendering services should show the approved rooftop layout and the relationship between its main uses. Social spaces, clear paths, planting, screens, doors and fixed equipment should sit where the drawings place them. A single wide view can introduce the whole roof, but closer views may be needed to explain seating, planting or the outlook.
How should the roof be divided into zones?
Before you brief rooftop amenity rendering services, begin with the activities the project has approved. A roof may include dining, quiet seating, play or exercise areas, planted edges and routes between them. Mark each use on the roof plan. Then identify the parts that need to stay clear, such as a route to a stair or lift, access to service equipment or space used to care for large planters.
Do not turn every open patch into a seating area. Some paths must stay clear. Some spaces may have set hours. Ask the architect, landscape designer and building manager to confirm how each part works before adding furniture. Good rooftop amenity rendering services will ask for this too.
Which views will make the layout clear?
Use an overall view to show how zones connect. Add a human-height view if residents need to understand seating, screening or a particular outlook. A view from above may help explain the layout, but can make furniture and screen heights hard to judge. Label what each camera is meant to show, so rooftop amenity rendering services can set up each view with a clear purpose.
Realistic 3D’s apartment interior and exterior project includes rooftop pool imagery. It is a visual example only. The page does not document the roof’s routes, maintenance access or technical design.
The interior rendering services guide covers room views and package scope. This brief for rooftop amenity rendering services is about a shared roof and the choices its layout must show.
What information do rooftop amenity rendering services need?
Send the approved roof plan, elevations and landscape plan. Mark camera points, north, key views and each zone. Say which items are fixed and which are examples. Clear source files leave less guesswork for rooftop amenity rendering services.
What should the roof plan identify?
| Plan item | What to mark | Why it matters in the image |
|---|---|---|
| Social zones | Dining, lounge, recreation or quiet areas | Shows how different uses are arranged |
| Circulation | Main paths, doors, stairs and lift access | Keeps routes visible and in the right place |
| Maintenance access | Service routes and areas that need inspection | Avoids showing those spaces as extra resident seating |
| Planting | Bed edges, screen planting and intended species | Sets what is opaque, open or still to mature |
| Screens and parapets | Height, location and material from approved drawings | Affects privacy, views and the roof’s edge |
| Fixed equipment | Plant, vents, access hatches and other roof items | Keeps necessary features in their planned positions |
| Camera views | Marked camera points, direction and image purpose | Makes reviews easier to repeat and compare |
Include the latest landscape plan, planting list, roof sections, finish samples and furniture sizes. Flag any conflict between drawings and name the version to use. The CAD file preparation guide has a wider file list. For rooftop amenity rendering services, the planting and access plans matter as much as the building model.
How should planting and screens be shown?
Ask rooftop amenity rendering services to use the species, planter locations and screen details confirmed by the design team. A row of mature trees can create a very different sense of enclosure from young planting. If the final height or density is not set, label the planting as a design intent or use a view that does not suggest a guaranteed screen.
Planting can define zones and soften views, but it also needs access for care. If a screen is still being designed, label it as a proposal. Do not present it as guaranteed privacy.
Which local guides can help?
London’s Housing Design standards discuss plants, privacy and upkeep. These are London guidelines, not universal rules. Singapore’s URA greenery guidance shows how local plans can record planting and shared uses. Use them to prompt questions for rooftop amenity rendering services, not as rules for other places.
For one local example, the Aberfeldy Village design code describes different uses and screened quiet spots on a shared roof. It applies to that project, not all London roofs.
How should parapets and views be shown?
Rooftop amenity rendering services should also show the actual parapet or screen design. A solid edge, clear glass and open metal railing create different outlooks. Do not raise an edge or thicken planting just to hide nearby buildings unless that change is in the approved scheme.
How should real views and assumptions be handled?
Mark the direction of each view. Send rooftop amenity rendering services a site photo, survey or context model if you have one. If nearby buildings are planned, give their status and date. If plants are shown at full size, label this as an assumption. A render shows one design and context at a point in time. It cannot promise that the view will never change.
How do you review a rooftop view before approval?
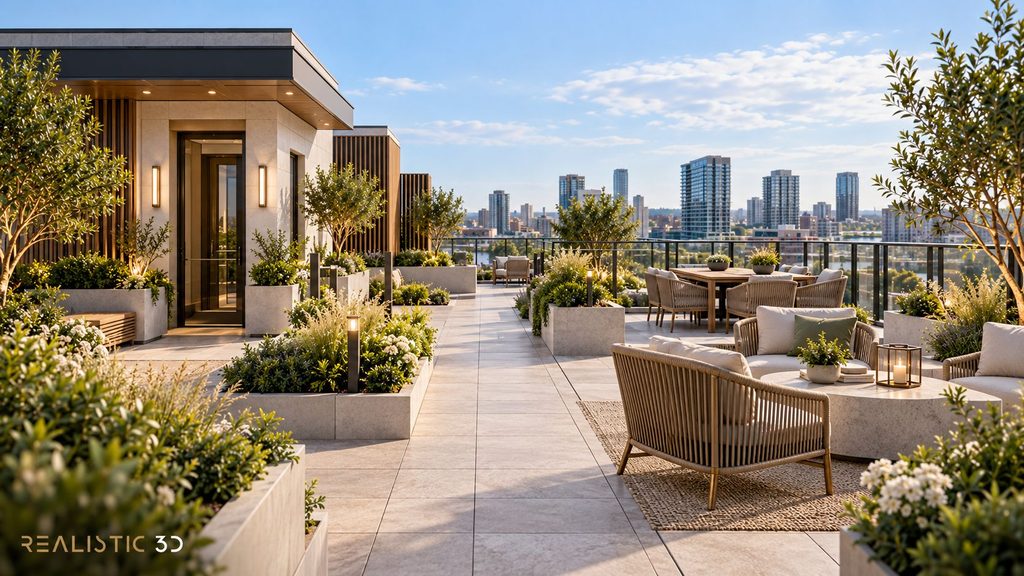
Compare the image with the roof plan and sections. Check that each zone, path, screen, parapet and fixed item matches the current design. Then look at the view as a resident might. Can they see where to sit, how to reach it and what is between their seating and the roof edge?
What should be checked at sign-off?
Check each camera from your rooftop amenity rendering services against this list.
- Does the image name the right building, roof level and view direction?
- Do the social zones match the approved plan?
- Are routes to doors, stairs and lifts shown where they belong?
- Are maintenance access areas kept distinct from resident seating?
- Do planter locations, screen heights and parapets match the current design?
- Are fixed plant and access hatches represented rather than hidden?
- Is planting shown at the agreed stage, or labelled as a future condition?
- Are nearby buildings and views based on supplied information?
- Does the image avoid suggesting that safety, access or planning approval has been certified by the render?
What would a practical example look like?
Imagine an approved roof with dining by the lift lobby, quiet seating at the far end and planters along one edge. A service route passes behind part of the planting. The brief to the rooftop amenity rendering services marks each use, the route, the planters and two camera points. The wide view shows how people move between areas. A lower view shows the seats and roof edge. The planting is labelled as proposed because its final size is not yet set.
What does the render not prove?
The two views from rooftop amenity rendering services help reviewers check the layout. They do not prove that the service route is safe or that the roof can hold a given load. The project’s qualified designers and building specialists must check those points.
Rules depend on the place and roof use. Los Angeles, for example, has roof garden guidance that calls for plans, permits and checks. This is for Los Angeles. It shows why a render cannot count as approval.
If the image is for an ad, check its caption too. The ACCC real estate guide says Australian agents must give true and full details about a property. The US FTC ad guide says pictures shape the full message of an ad. Each guide applies in its own market. Ask the sales team to check claims about views, privacy and resident access.
How should you commission rooftop amenity rendering services?
Choose the views from the decisions they need to support. One overall camera may establish the roof’s layout. A closer view can explain a lounge, dining space, planted screen or outlook. Ask for additional views only when they answer a new question, not simply to increase the image count.
Before requesting a quote for rooftop amenity rendering services, list the roof zones, camera views, source plans, planting status, image sizes and launch date. The residential rendering guide covers a wider home image set. The architectural CGI guide gives an overview of image types. Realistic 3D’s interior rendering service can quote for still images from an approved brief.
Keep the review steps clear. First check the model and roof zones. Then review simple camera previews before adding materials, plants and final lighting. Ask the landscape designer and building manager to check their details. A render can help people discuss the roof. It does not replace a technical check.
Conclusion
Useful rooftop amenity rendering services show how the roof is arranged, not just how it might feel at dusk. Mark the social spaces, routes, maintenance access, planting, screens, parapets and views on the approved plan. Then choose cameras that explain the whole layout and the important details without hiding the parts that still need review.
Before final rendering, ask the architect, landscape designer and building manager to check their source plans. Label assumptions about plants and views. Use rooftop amenity rendering services to help the team talk through the design. Use a technical review to answer questions about safety, access, upkeep and approval.
If you are preparing a development launch, send the approved roof plan, landscape references, required views and campaign date to Realistic 3D’s rendering team. A marked-up plan gives the studio a clear starting point for a scoped quote.
What is rooftop amenity rendering?
Rooftop amenity rendering services create a computer image of a planned shared roof. It can show seats, dining areas, plants, screens, paths and views before the roof is built. It should follow the approved plans and label any items that are still examples.
What should I send before requesting rooftop amenity renders?
Send rooftop amenity rendering services the latest roof plan, sections, landscape plan, finish samples and furniture sizes. Mark the camera points, social zones, paths and service areas. Include the date and version of each file.
Should one render show the whole roof?
An overall view can show the layout, but it may not explain every seat, screen or path. Add a closer view if it answers another question. Link each camera to what buyers or residents need to see.
Should maintenance routes be shown in a marketing render?
Show them if they affect the layout or must stay clear. Ask the building manager and landscape designer to mark those areas. A render can show the planned route. It cannot prove that access or upkeep is safe or adequate.
How should rooftop planting be represented?
Use the approved species and locations where they are known. If plant height or maturity is uncertain, label the image or show an agreed stage. Do not use mature planting to promise privacy if the approved scheme does not support that claim.
Can a rooftop render guarantee the view?
No. The image can show the context supplied for the project at the time of production. It cannot guarantee what may be built, removed or planted beyond the site in future. State whether the context is existing, approved, proposed or illustrative.
Does a realistic render prove that the roof is safe or compliant?
No. It shows a design. It does not check the structure, fire exits, access, roof edge, drainage or planning approval. The project team must check these against local rules and plans.
How many rooftop amenity views should a project commission?
There is no standard number. Start with one overall layout view, then add focused views for the zones or outlooks buyers need to understand. The roof plan and campaign purpose should guide the final image list.
 Written byShakhawat Ullah BadhonMore from Shakhawat