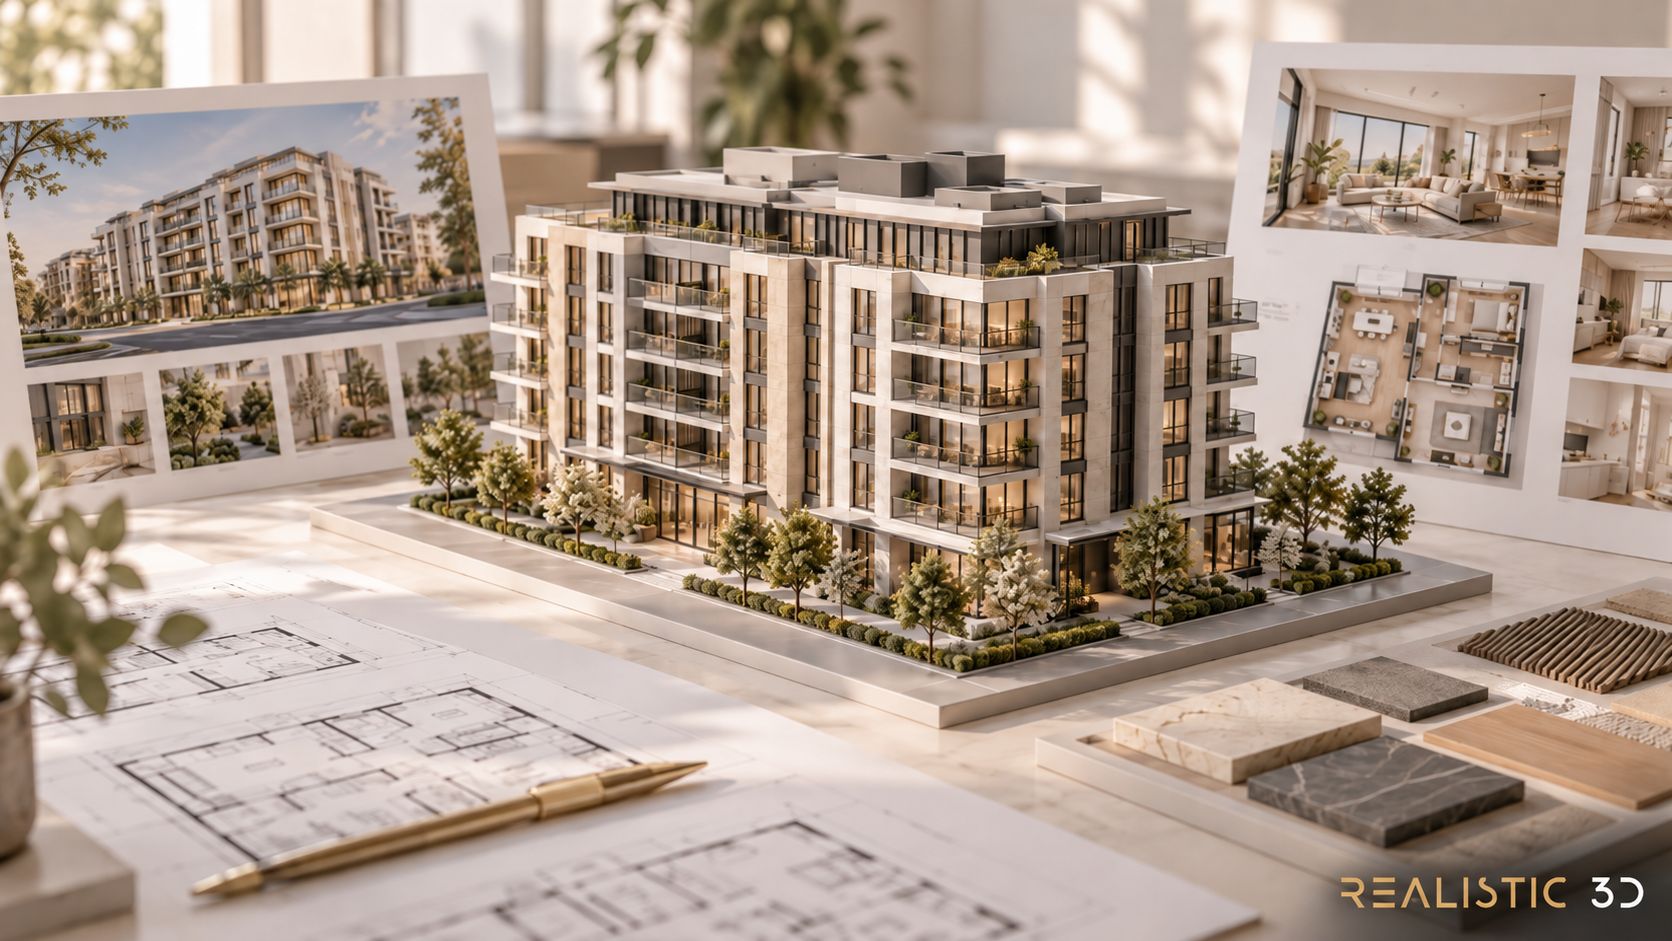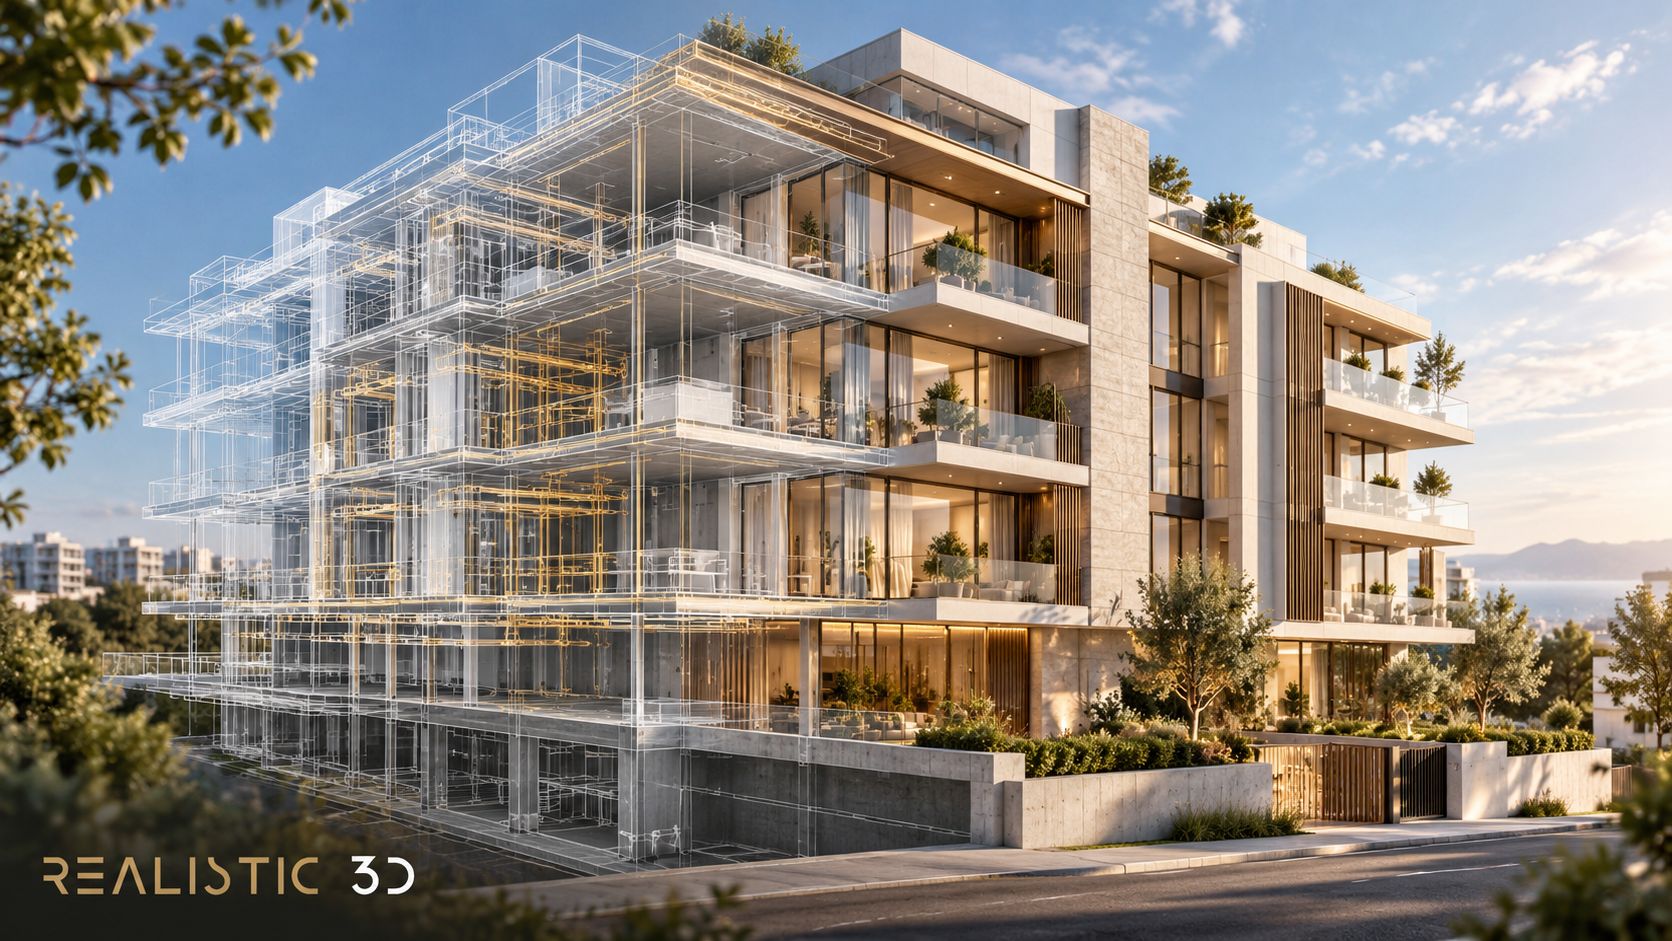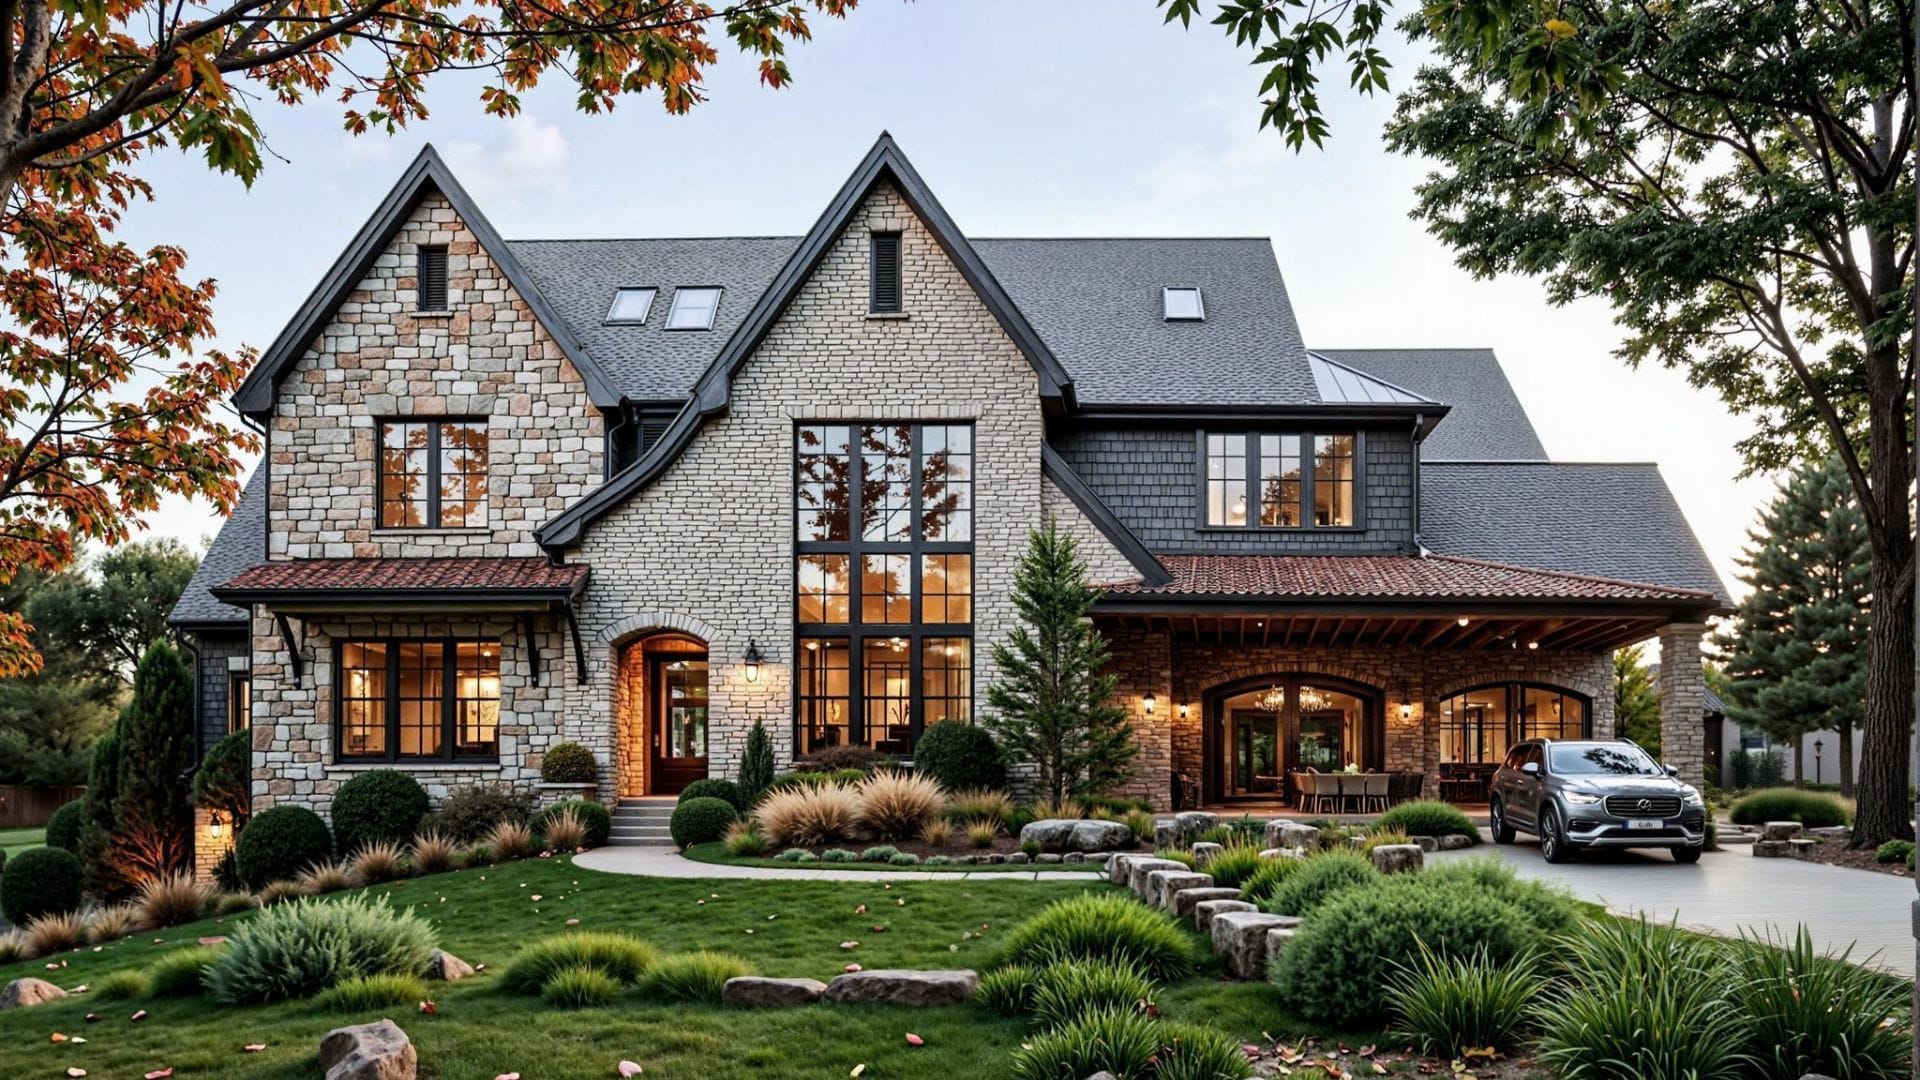
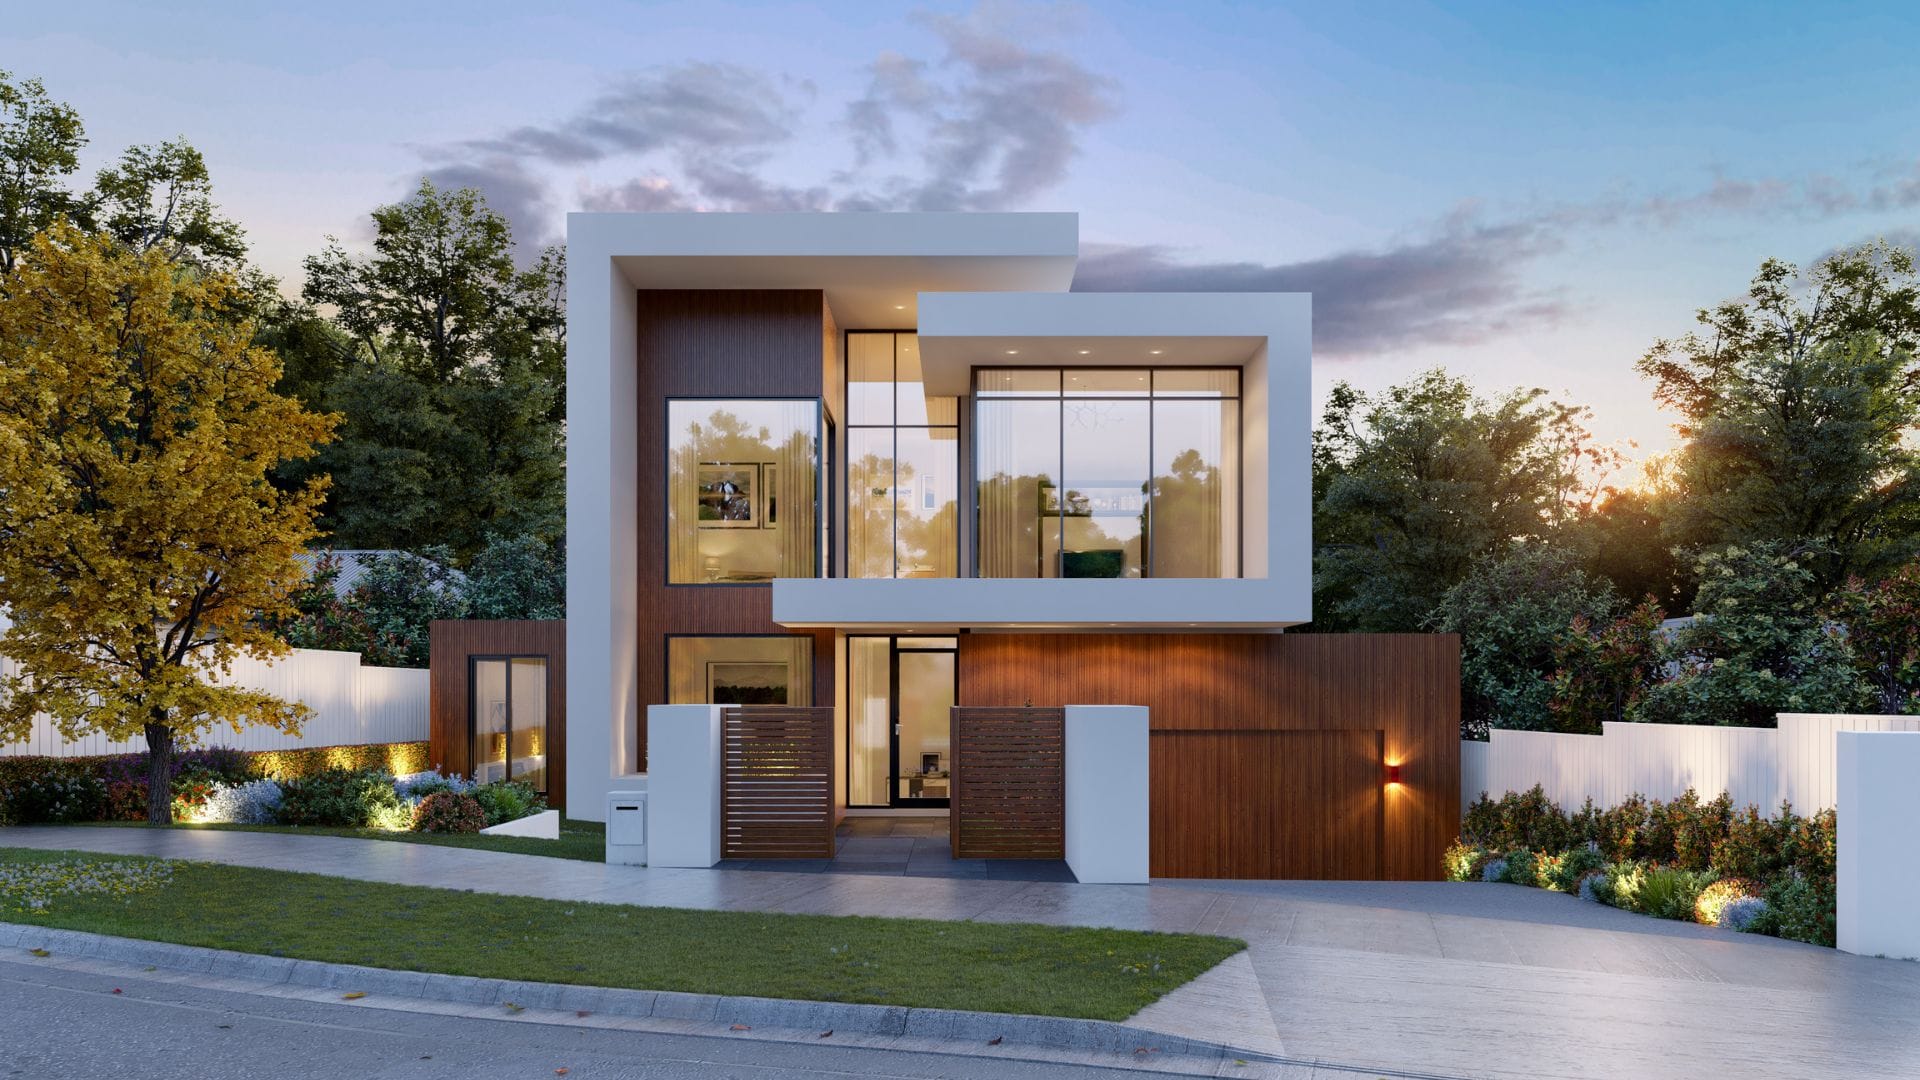
A house can look right in a brochure and still feel wrong for the block a buyer is considering. The ground may fall towards the street, the driveway may need to enter from a different side, or the garden shown may include items that are not part of the package.
Good house and land package rendering connects a home design to the specific lot being marketed. To brief it well, provide the current lot plan, survey and levels where available, house plans and elevations, driveway access, orientation, and an inclusion schedule. Then agree which details are confirmed and which remain illustrative. The render helps buyers understand the proposed pairing. It does not establish site feasibility, approvals, contract terms or final construction costs. For broader residential image choices, see the residential architectural rendering guide.
That distinction matters in Australia, where a package may be promoted across different lots and state rules can vary. A useful visual is specific enough to answer buyer questions, while staying faithful to the project information behind it.
What should a house and land package render show?
A package render should show the selected home on the lot being sold. It should use current project information. Buyers should be able to see the house, street approach, driveway and how the building meets the ground.
Start with the actual pairing
Name the lot or package reference in the brief. A generic façade image can show the builder’s style, but it cannot show how that design sits on a particular block. For a lot-specific view, use the matching house plan, elevation and site information rather than combining attractive details from different options.
YourHome’s site selection guidance explains that lot shape, terrain, orientation, access and other site conditions can affect where and how a home is placed. Those factors are useful visual cues, but the image should follow the current project documents rather than make design decisions for them. A wider exterior rendering guide can help teams choose between a street-level view and one that shows more of the site.
Make the street approach easy to read
Show the correct front elevation, garage position, driveway entry and visible boundary context. If the site has a fall, the image needs an agreed basis for ground levels. Use a survey, site plan or approved sections when available. If those details are not settled, label the view as a concept and avoid implying a resolved retaining or drainage design.
Keep landscape and inclusions honest
Plants, fences, paths, letterboxes and outdoor finishes can make a scene feel complete. They can also suggest that items come with the package. Match them to the inclusion schedule or label them clearly as indicative, optional or excluded. The same applies to façade finishes and upgrades.
How do you match the home to a specific lot?
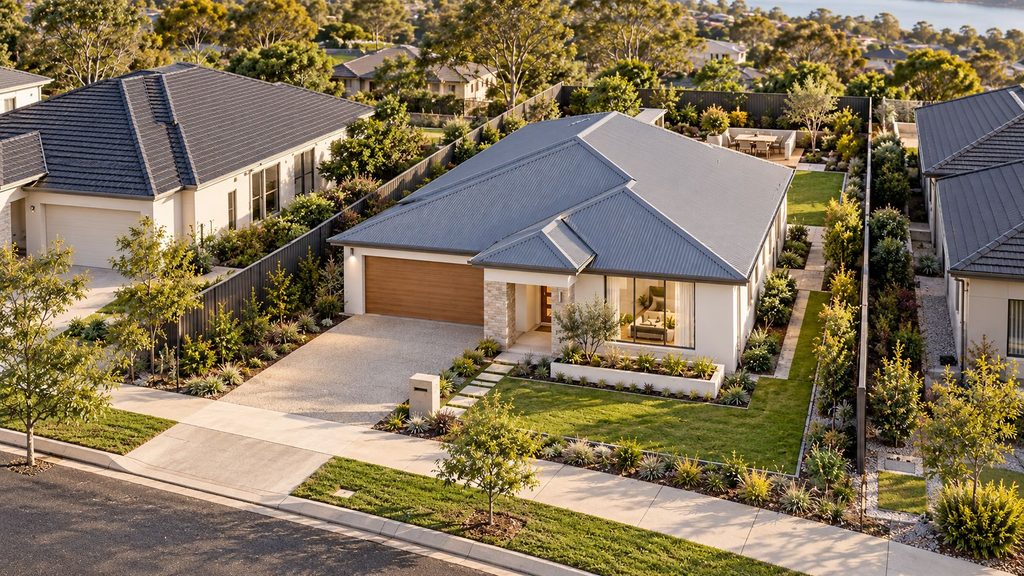
Build a short lot-to-view matrix before modelling. Link each buyer question to its source, the detail to show and the person who can confirm it. Catch mismatches before finishing the image.
| Buyer question | Source to provide | What the view should make clear | Status to confirm |
|---|---|---|---|
| How does the home meet the slope? | Survey, contours or site section | Ground fit and visible level changes | Confirmed, concept or awaiting information |
| Which way does the home face? | Lot plan with north point and street edge | Orientation of the house and the chosen view | Confirmed against the selected lot |
| Where does the car enter? | Site plan showing access and driveway arrangement | Garage position and driveway approach | Confirmed, provisional or needs review |
| What comes with the package? | Inclusions schedule and finish selections | Included items, optional upgrades and illustrative planting | Included, optional or not included |
This table helps shape the brief. It does not replace a surveyor, designer or project approval. A render can show a proposed driveway, but it cannot confirm access requirements. Keep open questions in the review notes. Do not ask the artist to guess. If the project needs planning visuals, agree the local method with the project adviser.
Match the view to the buyer’s decision
A street-level image may establish the look, while a second angle can show the garage, side access or slope. Choose views around real questions for that lot. YourHome notes that orientation and terrain can affect sun and breezes, but a render is not a performance assessment.
What belongs in the rendering brief?
A strong brief gives the artist one current source of truth for the lot, home design, finishes and package scope. Include document dates or revision numbers, identify the person approving changes, and flag any information that is still provisional.
Send a clear source pack
Useful files usually include the lot plan, survey or available levels, house plans and elevations, finish selections, driveway information, landscape plan and package inclusions. Mark the lot reference and the exact home variant. If files need preparing, Realistic 3D’s guide to preparing CAD files for rendering covers practical handover details. For questions about scope and cost, see the architectural rendering cost guide.
For the visual scope, specify the views, camera direction, time of day, surrounding context, landscape maturity and delivery date. Note whether neighbouring homes are known or only placeholders. These choices affect what the image communicates, so agree them before production. The architectural CGI overview covers other visual formats for a wider launch.
Separate confirmed items from options
Use a simple status list in the brief. Mark each item as one of the following.
- Included means confirmed as part of this package.
- Optional means shown as an upgrade or selection.
- Indicative means shown to explain the scene, but not confirmed as part of the package.
- Not shown means excluded from the visual or not yet resolved.
The Australian Government’s guide to buying a house off the plan advises buyers to check illustrations against the contract and notes that site and finishing costs can include items such as driveways, landscaping and excavation. A render brief that tracks these distinctions helps the marketing image support a clear conversation rather than stand in for contract documents. NSW builders can also refer to state contract guidance when checking which plans and specifications apply to a building contract.
How should you review the images before launch?
Review each image against the exact lot and source revisions, then check the buyer-facing details that can change the apparent package. Have the project contact and marketing reviewer confirm the same checklist before the image is used in a campaign.
Check the lot-specific details
Confirm the house variant, garage side, driveway entry, visible ground levels, boundary context, major landscape elements and finish selections. Compare the scene with the current site plan and inclusion schedule. If a plan has changed since the render was briefed, pause approval until the visual is checked against the new revision.
Check what the image could imply
Look for optional paving, fencing, planting, appliances, lighting or neighbouring context that could be mistaken for included or guaranteed. Add a plain-language caption where needed, such as landscaping shown is indicative or upgrade shown. A disclaimer should clarify a detail, not contradict the overall impression of the image.
The ACCC’s real estate guidance says property information should be truthful and complete, and notes that real estate laws are state and territory based. This is general marketing guidance, not a CGI-specific rule. For a specific campaign, check the relevant state or territory requirements and ensure the image and surrounding copy tell the same story. WA Consumer Protection’s 2017 bulletin on house and land package advertising is a state-specific example of how lot relevance and the overall impression can matter.
Keep the image within its limits
A visual can help someone picture a proposal. It cannot prove title boundaries, levels, access compliance, engineering, permits, availability, price or contract inclusions. Use the relevant drawings, approvals and contract documents for those decisions. Requirements differ by jurisdiction. For a NSW off-the-plan land purchase, buyers can consult the NSW Land Registry Services information for that state’s process.
What is house and land package rendering?
House and land package rendering is a visual of a proposed home design shown with a particular parcel of land. A lot-specific image can include the correct house variant, street approach, driveway and agreed site context. It should be based on current project documents and labelled where details remain indicative.
What files do I need for a lot-specific render?
Start with the lot or site plan, house plans and elevations, and current survey or level information if available. Add driveway details, finishes, landscape plans and the package inclusion schedule. Identify each file’s revision and the lot reference so the artist can match the correct design to the correct site.
Can a render show a sloping block?
Yes, if the available survey, levels or approved sections give a sound basis for the ground shown. Where the final response to the slope is not settled, the image should present it as indicative and avoid inventing retaining, excavation or drainage solutions. A visual does not confirm engineering or site costs.
Should every house and land package have its own image?
Not necessarily. A shared image may work when the same house and site conditions apply. Create a separate lot-specific view when the street approach, orientation, slope, garage position, landscape or visible package details differ enough to affect a buyer’s understanding.
How should optional upgrades appear in a render?
Show an upgrade only when it helps explain the design and label it as optional in the image caption or nearby campaign copy. Keep included items aligned with the schedule supplied for that package. Avoid adding attractive extras without telling the buyer they are not standard.
Can the render confirm that a home will fit on the block?
No. It can illustrate a proposed arrangement based on supplied plans, but it does not establish setbacks, title boundaries, approvals, engineering, access compliance or buildability. Confirm those points with the project’s qualified professionals and relevant documents.
Does a house and land render need a disclaimer?
Use a clear note when the image contains indicative context, optional upgrades, planting or finishes that may differ from the package. The wording should match the image and sales copy. For an Australian campaign, check the relevant state or territory guidance because real estate rules can vary.
What should I send to get a rendering quote?
Send the approved or current lot plan, survey or level information, house plans and elevations, inclusion schedule, required views and target launch date. Flag provisional items and the person who will approve the images. Realistic 3D can then scope the work around the lot-specific details that need to be shown.
Make the package clear before buyers ask
A useful house and land image answers a practical question. Does this home make sense on this lot, and what is the buyer actually being shown? The answer depends on the match between the house variant, the block, the street approach and the package details. It also depends on being clear about what is confirmed and what is still illustrative.
Before the campaign begins, bring the project and marketing reviewers together around the same lot reference and current documents. Check the view against the survey or levels, driveway information, finish selections and inclusion schedule. If one of those sources changes, update the image or its caption before it goes live.
To scope a lot-specific visual, send Realistic 3D the current drawings, required views and launch date. Include any site details or package items that need careful treatment, and the architectural rendering team can quote against a brief that is clear to both the artist and the buyer.
 Written byShakhawat Ullah BadhonMore from Shakhawat