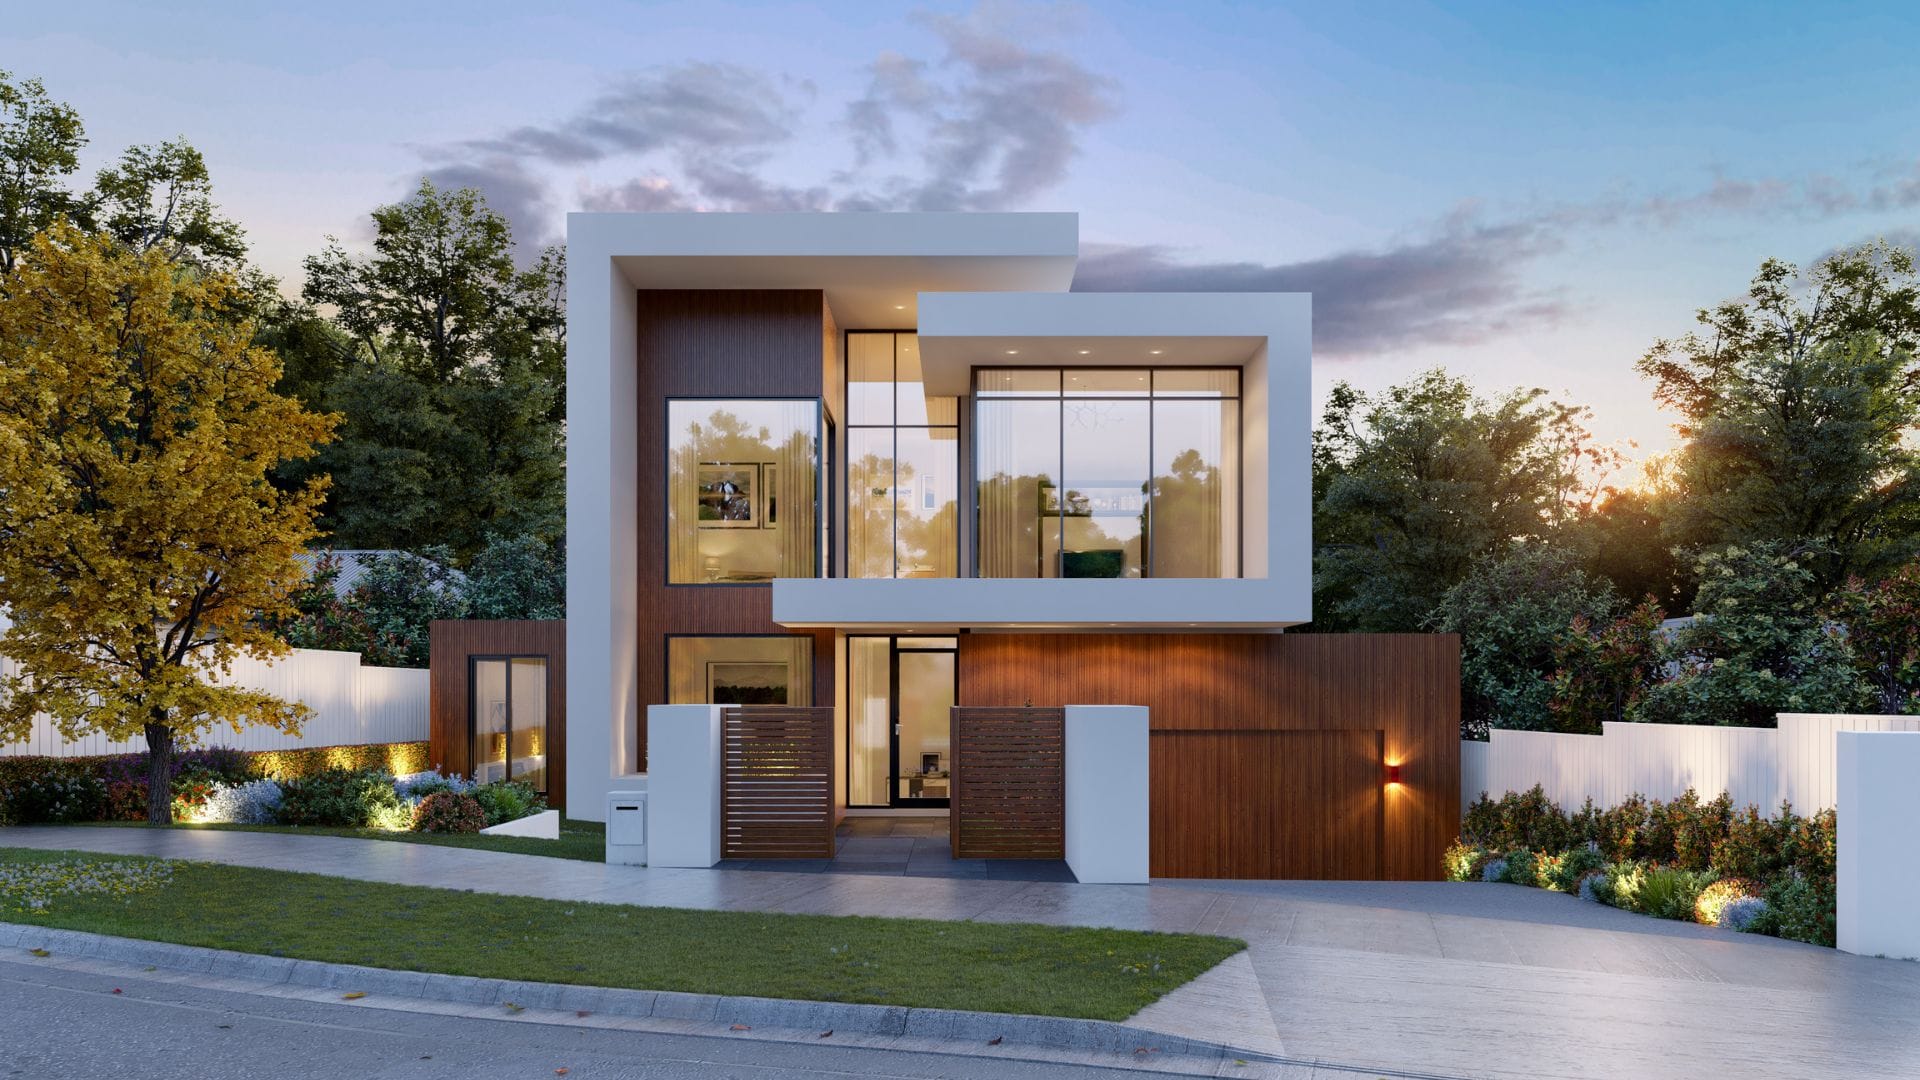
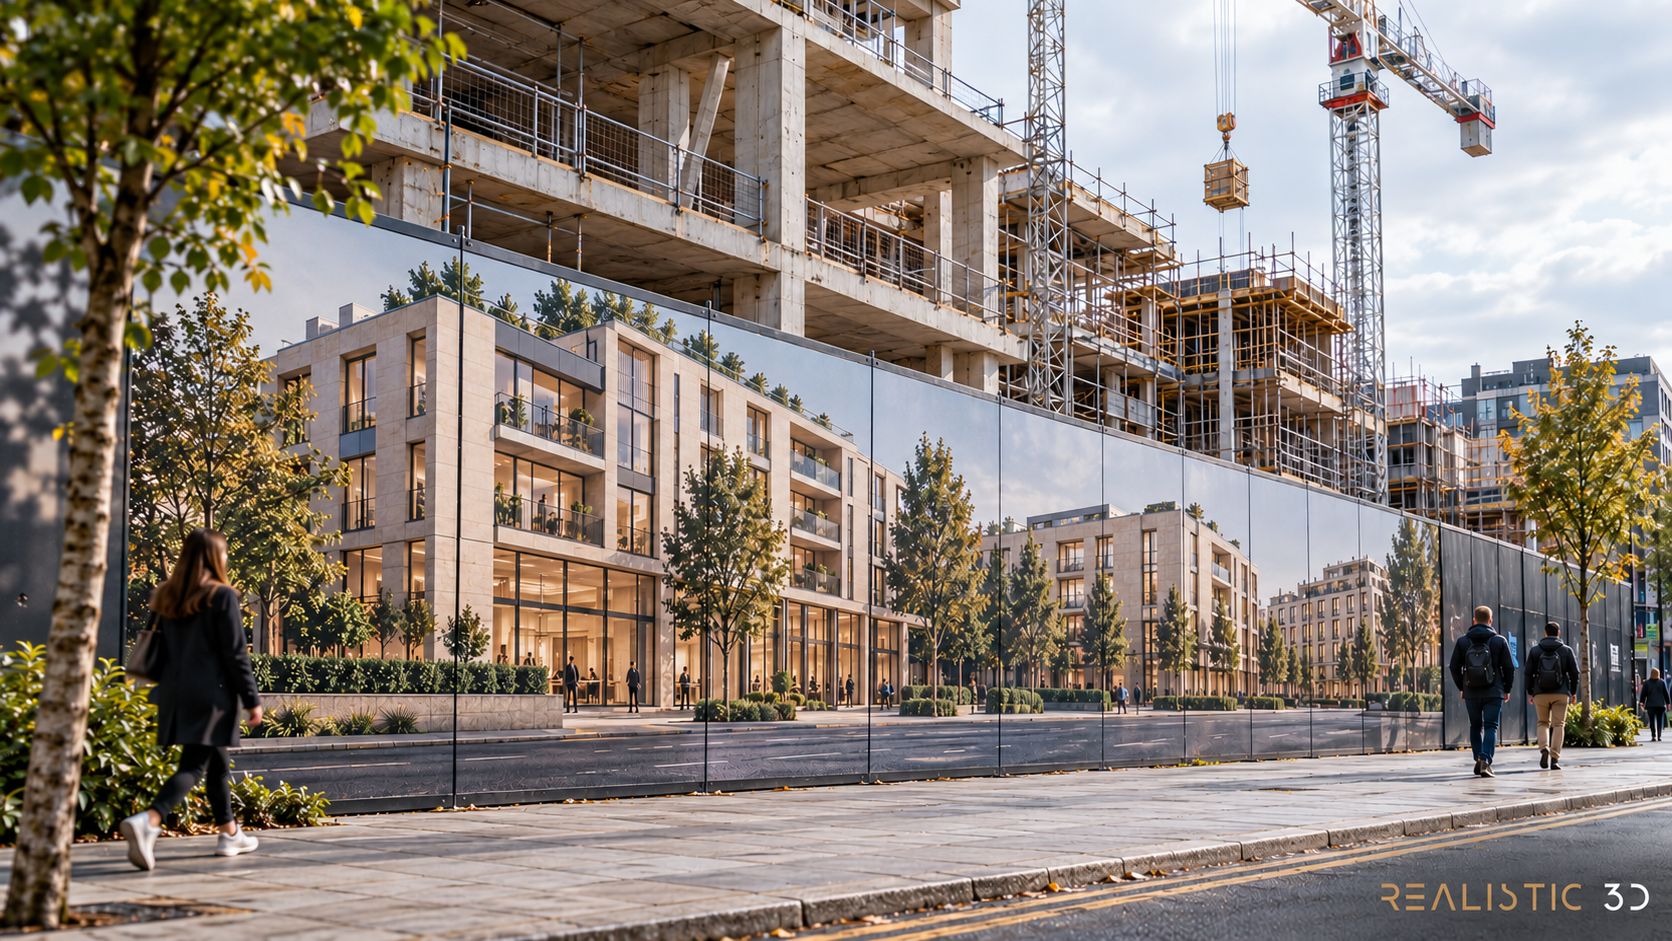
Architectural rendering for site hoardings needs two briefs to meet. The CGI brief defines the building, site context and views. The print brief defines panel sizes, joins, bleed, colour, file format and how the finished graphic will be checked. Ask the printer for its current artwork template before the camera views or final image dimensions are approved.
A wide image can look seamless on a monitor and lose a façade detail at a panel join. A close crop can show material detail clearly, but a passer-by may only have a few seconds to read the display. These are layout and viewing questions as much as rendering questions.
This guide to architectural rendering for site hoardings helps developers and contractors commission outdoor construction-site displays. It covers the buyer information to gather, the choices to agree with the printer and the proof checks to complete before production. For the broader CGI workflow, see the 3D architectural rendering guide. This page focuses on hoardings rather than screens in an indoor sales gallery.
What should the hoarding image communicate?
For architectural rendering for site hoardings, choose the main message before commissioning views. A hoarding might introduce a development, show a proposed building in context or identify a project entrance. Each goal needs a composition that works across the installed panel run and keeps the important building features away from cut lines and joins.
Match each view to the panel layout
Start architectural rendering for site hoardings with a measured panel plan from the contractor or printer. It should show overall dimensions, panel order, joins, returns, gates and any areas reserved for site notices. Confirm whether the image is one continuous print, joined panels or separate boards.
Map the image to the panel plan before choosing a final camera. An oblique view may show the development as a whole, while a hero view may suit one building or entrance. An aerial rendering or masterplan rendering can explain the wider site. A street-level view may communicate a building more clearly to passers-by.
| Hoarding objective | View to consider | Layout question |
|---|---|---|
| Introduce the full development | Wide context or oblique view | Does the main building remain clear across joins? |
| Highlight a particular block | Eye-level hero view | Is the block large enough in its assigned panel area? |
| Explain the site as a whole | Aerial or masterplan view | Are roads, phases and landmarks legible at the planned distance? |
| Show a building entrance | Focused street-level view | Will a return, gate or seam cut through the entrance? |
Select a view for its role in the physical hoarding, rather than assuming one image will suit every panel and placement.
Keep critical content clear of the joins
Ask the printer to mark panel join positions, trim edges, returns, gates and safe areas on the artwork template. Then confirm the alignment tolerance, overlap or seam allowance separately for that print and installation system. Keep faces, logos, contact details and important façade edges away from points where the image may be folded, trimmed, overlapped or divided. Background colour or planting may cross a join more safely than a window line or a person’s face, but the printer should confirm how its specific system is finished and installed.
In architectural rendering for site hoardings, treat the full strip and each panel as separate checks. A continuous image can read well from the pavement, yet an individual panel may be replaced, obscured by a gate or viewed at an angle. The real estate CGI guide covers campaign-wide asset choices, while this brief ties every crop to an identified panel position.
Label what is proposed
In architectural rendering for site hoardings, use approved project information for the building, landscape and surrounding context. If an element remains illustrative, or the scheme is still proposed, agree how that status will be communicated in the display. A photorealistic image does not confirm planning consent, construction approval or what a future purchaser will receive.
For UK non-broadcast advertising, CAP’s new-build and off-plan guidance says qualifications about optional upgrades should sit next to the image and be clear. It is advertising guidance, not a print specification. In England, outdoor advertisements are controlled under a separate system from planning permission for the development itself. GOV.UK’s advertisement guidance explains that the rules include hoardings and that the local planning authority is the relevant point of contact for consent questions. Requirements differ across the UK and other markets, so have the project’s qualified local adviser check the planned display before installation.
What should you send to the CGI team and printer?
To start architectural rendering for site hoardings, send the approved building information and the printer’s actual production template together. The studio needs to know which design and view to create. The printer needs the finished dimensions, panel construction and file settings. Naming one person to resolve questions keeps those decisions from being guessed during production.
Prepare the source and placement pack
A useful pack includes the following items.
- Current plans, elevations, sections, model references and revision dates
- Approved materials, landscape information and any required project wording
- Site photographs or context references for the selected views
- The hoarding elevation with total display dimensions, panel order and join positions
- Printer template, substrate or print method, safe areas, bleed or overlap notes
- Intended viewing positions and distances, such as pavement approach or site entrance
- Required image views, crops, logos, labels and any reserved notice areas
- File format, colour profile, effective resolution and delivery route required by the printer
- Named reviewers for design accuracy, marketing wording and final print proof
If drawings conflict, identify which source controls and who can settle it. The studio should not choose between different façade revisions simply because both are in the folder. The CAD file preparation checklist offers broader source-file guidance. For a hoarding brief, add the printer’s layout files and markups to that project information.
Ask the printer to set the technical requirements
The print supplier should provide the required output size or scale, bleed, safe area, file format, colour profile and raster resolution at final size. Do not treat a familiar resolution number as a universal rule. Required image detail depends on finished dimensions, viewing distance, print process and the supplier’s workflow.
Adobe’s print-resolution guidance describes how print size and viewing distance affect image resolution. HP’s large-format printing guide gives manufacturer guidance on resolution, file setup and preflight. Use those as background reading, not as a substitute for the specification of the actual printer producing the job.
Ask whether the supplier wants artwork at full size or a stated scale. Confirm how its template represents the visible panel face versus bleed, seam allowance or wrap. Adobe’s InDesign guide to bleed and slug areas explains bleed in document setup, but the printer should provide the required amount for the hoarding material and finish.
Record the placement schedule
Use one row per panel or repeated panel group. Replace the prompts with values supplied by the hoarding contractor and printer. Add a separate row for any alternative crop or view.
| Panel ID and position | Finished face dimensions | Join, gate or return | Printer join details | Image and crop | Viewing point | Settings and approver |
|---|---|---|---|---|---|---|
[panel ID] | [width × height from supplier] | [join, gate or return] | [tolerance, overlap or seam notes] | [view ID and must-keep content] | [position and typical distance] | [format, profile, resolution, reviewer] |
[panel ID] | [width × height from supplier] | [join, gate or return] | [tolerance, overlap or seam notes] | [view ID and must-keep content] | [position and typical distance] | [format, profile, resolution, reviewer] |
This schedule is a working template, not a print specification. The printer’s values control. Keep a master image separate from print-ready panel files and record which source camera, crop and artwork revision each file uses.
How do you review the layout and print proof?
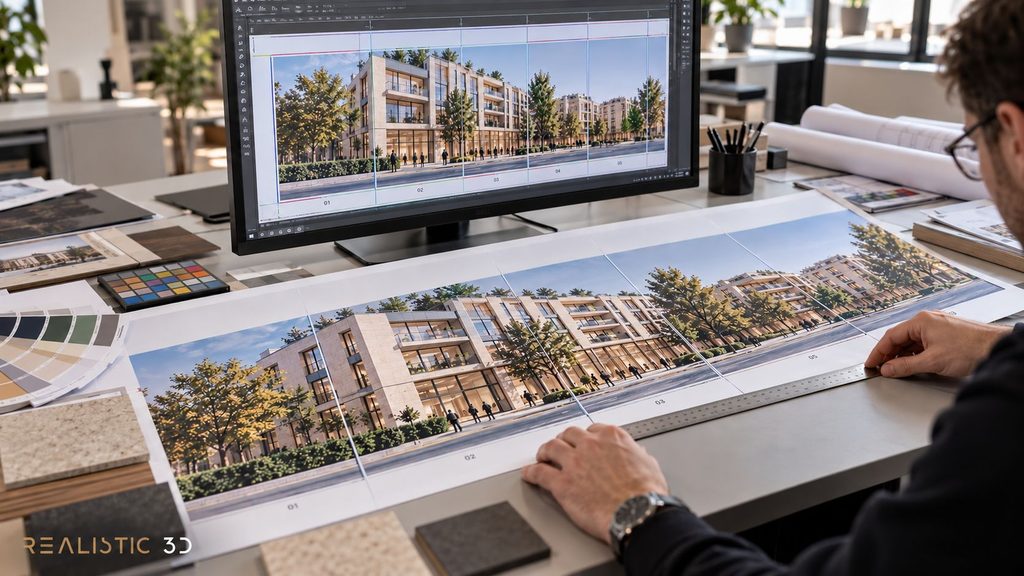
Review the architectural rendering for site hoardings in the printer’s panel template and inspect the planned installation as one continuous sequence. Approve the visual composition first, then check the print proof against the same template and source revision. A zoomed-in screen preview cannot show every effect of material, colour, trim or panel alignment.
Check the composition at its intended distance
Ask the team to provide a full-strip preview with panel divisions shown. Check that the main buildings read from the intended approach, not only when viewed close up on a laptop. Make sure the crop preserves important rooflines, entrances and façades. Check individual panels too, especially those containing project names, contact details or small copy.
If the hoarding turns a corner, crosses a gate or breaks around an entrance, ask whether the image should continue, stop or change view at that point. A single continuous camera may not work across an interruption. A new crop or view can be clearer than stretching the same scene to fill every gap.
Check colour and the production proof
A monitor and a printed surface do not emit light in the same way. If colour is important, ask the printer what kind of proof it can provide and whether it uses the intended profile or material. Adobe’s Photoshop colour-proofing guidance explains soft proofing with an output profile, but a screen proof depends on the profile and calibrated display. It does not replace any physical proof the printer recommends for this job.
Before approving architectural rendering for site hoardings, confirm the proof uses the final crop, panel order, material or agreed proxy, colour profile and artwork version. Record any changes and identify who has authority to approve the visual, wording and print production. The architectural rendering service can scope the CGI files against the print supplier’s brief once those inputs are available.
Use a final handover check
- [ ] The image matches the client-approved design revision and supplied site context.
- [ ] Every panel ID and position matches the signed layout.
- [ ] Joins, trims, returns, openings and safe areas are shown and checked.
- [ ] The main view and any individual crops work at the expected viewing distance.
- [ ] File size, scale, bleed, profile, format and resolution match the printer’s instructions.
- [ ] The print proof reflects the final source image and artwork version.
- [ ] Proposed or illustrative features are labelled as agreed with the client.
- [ ] The approved files, revisions, delivery date and approvers are recorded. The printer has confirmed the delivered files pass its preflight against the supplied specifications.
- [ ] Any necessary local advertising checks are with the client’s qualified adviser.
Conclusion
An architectural rendering for site hoardings brief is ready when the render view, physical panel layout and printer’s file requirements agree. Confirm the panel map and joins first, then choose views that fit the display and keep important features away from cut lines. Use the printer’s own values for dimensions, bleed, resolution, colour and format.
Review the full strip and each panel in the supplied template. Then approve the proof against the final image, wording and source revision. That gives the CGI team a clear production target and the printer an artwork package it can check before installation.
For a scoped quote on architectural rendering for site hoardings, prepare the approved drawings, required views and launch date. Send approved drawings, required views and launch date for a scoped rendering quote.
What files should I provide for architectural rendering for site hoardings?
Send current plans, elevations or a model reference, the approved site context, required views and the hoarding elevation. Include the printer’s panel template, dimensions, join positions, file requirements and safe areas. Name the person who can approve the building information and resolve any conflicting sources.
Who supplies the hoarding panel dimensions and artwork template?
The hoarding contractor or print supplier should provide the finished panel dimensions and artwork template for its construction and print process. Ask them to mark visible faces, returns, gates, joins, bleed and safe areas. Do this before the rendering camera and final crops are signed off.
What image resolution should I request for a site hoarding?
Ask the printer for the required pixel dimensions or effective resolution at the finished print size. The answer depends on panel dimensions, viewing distance, print method and workflow. A general DPI or PPI figure cannot replace the production specification for the job.
How should a CGI image handle joins between hoarding panels?
Ask for join lines on the artwork template and keep key details away from them where possible. If a façade, logo or other important element must cross a join, have the printer confirm its tolerances and finishing method, then inspect that area in the proof.
How do I choose the right views for a construction-site hoarding?
Start with the display’s purpose and panel map. Use a broad context view when people need to understand the whole scheme, and focused views when particular buildings or entrances need attention. Check that each view fits its panel group and remains clear from the intended approach.
Should the CGI be reviewed in the printer’s panel layout?
Yes. Review the full-strip composition and each panel crop in the supplier’s template. This catches joins across windows or entrances, text near trim, awkward cuts around gates and images that only make sense when seen as a single file.
Can a hoarding rendering show a development as approved or guaranteed?
A render can show the proposal described by its source material, but it cannot grant planning consent or guarantee the completed development. Agree wording with the project’s responsible reviewer, and make sure unconfirmed or illustrative details are not presented as settled facts.
What should be included in the final print handover?
Include the approved image master, print-ready panel files, panel IDs and sequence, the printer’s confirmed output settings, source revision, proof approval and delivery date. Add a brief note about the crop and any illustrative details so the production team can identify the correct version.
 Written byShakhawat Ullah BadhonMore from Shakhawat